
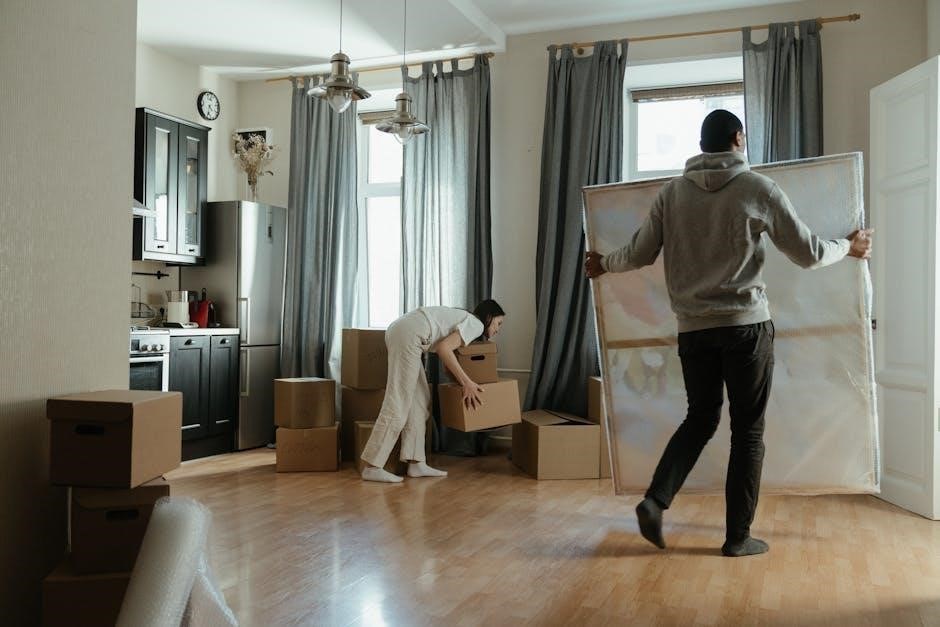
Moving can be overwhelming, but staying organized is key. This checklist streamlines the process by breaking it down into individual rooms, making packing and planning manageable.
Benefits of Using a Room-by-Room Moving Checklist
Using a room-by-room moving checklist ensures organization and efficiency, reduces stress, and prevents overlooked details. It simplifies packing, labeling, and organization, making the moving process smoother.
Organization and Efficiency
A room-by-room moving checklist enhances organization by breaking tasks into manageable steps. It allows you to track progress for each room, ensuring all items are packed and accounted for. By organizing tasks from 8 weeks before moving day, you can prioritize effectively and avoid last-minute rushes. This approach also helps in decluttering, as you sort items room by room, deciding what to keep, donate, or discard. Labeling boxes by room and category streamlines unpacking, saving time and effort. With a clear plan, you can allocate resources efficiently, ensuring a smooth transition to your new home. This structured method minimizes chaos and maximizes productivity.
Reducing Stress During the Moving Process
Moving is inherently stressful, but a room-by-room checklist can alleviate anxiety by providing a clear, actionable plan. Breaking tasks into smaller, room-specific steps makes the process feel more manageable and less overwhelming. By knowing exactly what needs to be done in each area, you can tackle one room at a time, preventing the feeling of being swamped. This structured approach also ensures no details are overlooked, reducing last-minute panic. Additionally, having a checklist allows you to visualize progress, offering a sense of accomplishment as each task is completed. This clarity and control can significantly lower stress levels, making the moving process more enjoyable and less daunting.
Creating a Moving Binder
A moving binder is a centralized hub for organizing all moving-related documents, including checklists, receipts, and contacts. It keeps everything accessible and streamlined, reducing chaos during relocation.
Importance of a Moving Binder
A moving binder serves as a centralized hub for all moving-related documents, ensuring organization and accessibility. It helps track progress, manage tasks, and keep essential records in one place. By maintaining a binder, you can easily access receipts, contracts, and checklists, reducing the risk of losing vital information. This tool also aids in accountability, ensuring all steps of the moving process are completed on time. Additionally, it provides a clear record for insurance purposes and helps streamline communication with movers and service providers. Having a moving binder minimizes stress and ensures a more efficient, organized relocation process from start to finish.
What to Include in Your Moving Binder
Your moving binder should contain essential documents and tools to ensure a smooth relocation. Include a detailed room-by-room checklist, receipts, and contracts with moving companies. Add an inventory list for insurance purposes, noting serial numbers and item descriptions. Keep track of contact information for movers, utilities, and service providers. Organize medical records, school transcripts, and pet documents in separate sections. Attach a moving budget tracker and a timeline for tasks. Include printable labels and a master packing list. Don’t forget keys, warranties, and manuals for appliances. Having all these items in one place ensures easy access and reduces stress during the moving process. A well-organized binder is your ultimate moving companion.

2 Months Before Moving
Research moving companies, declutter, and create a room-by-room inventory. Organize documents, request records, and plan logistics for a smooth transition.
Researching Moving Companies
Researching moving companies is a critical step in ensuring a smooth relocation; Start by gathering quotes from multiple reputable firms and compare their services. Check online reviews and ask for referrals from friends or family to gauge reliability. Verify certifications, licenses, and insurance coverage to avoid potential scams. Consider the type of move—local or long-distance—and the specific services needed, such as packing or storage. Consider the company’s experience with room-by-room organization and inventory management. Ensure clear communication about costs, timelines, and policies. Booking a trustworthy mover early ensures availability and reduces last-minute stress. A well-chosen company can make the moving process efficient and stress-free.
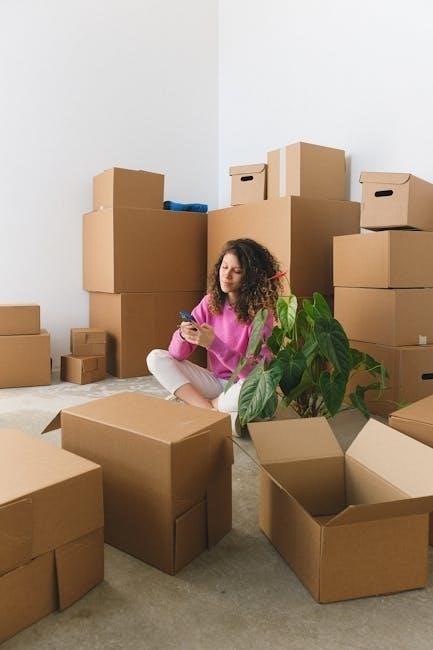
Decluttering and Sorting Items
Decluttering and sorting items is essential before packing. Begin by evaluating each room to identify items to keep, donate, sell, or discard. Start with storage areas like the garage or attic, as they often contain unused items. Use a room-by-room approach to categorize belongings, ensuring nothing is overlooked. Consider hosting a garage sale or listing items online for quick disposal. Set up labeled boxes for donations and trash to maintain organization. Sorting items early helps reduce moving costs and effort, making the packing process more efficient. This step also provides an opportunity to create an inventory for insurance purposes, ensuring all valuables are accounted for during the move.
Creating a Room-by-Room Inventory
Creating a room-by-room inventory is a crucial step in the moving process. This detailed list helps track all items to be moved, ensuring nothing is lost or forgotten. Start by listing items in each room, noting their condition and value for insurance purposes. Use a systematic approach, such as categorizing items by room and priority. Include descriptions, quantities, and photos where necessary. This inventory not only aids in packing but also serves as a reference for unpacking. Keep copies of the inventory in your moving binder and digitally for safekeeping. Regularly update the list as items are packed or moved, ensuring accuracy and peace of mind throughout the relocation process.
Room-by-Room Checklist
A room-by-room checklist ensures organized packing and tracking of items for each space, helping you stay focused and efficient during the moving process.
Kitchen
The kitchen is often the most challenging room to pack due to fragile items and specialized equipment. Start by packing non-essential items, such as seasonal dishes or infrequently used cookware. Use sturdy boxes and protective materials like bubble wrap for fragile items like glassware and dishes. Pack heavier items, such as pots and pans, at the bottom of boxes for stability. Label each box with its contents and the room it belongs to. Consider creating a “First Night” box with essentials like a coffee maker, utensils, and plates for easy access on moving day. Don’t forget to pack spices, oils, and cleaning supplies separately. Defrost and clean appliances before moving, and ensure all cabinets and drawers are empty. Wrap sharp objects like knives and secure them for safety. Finally, double-check for any overlooked items before sealing the boxes.
Bedroom
Start by organizing clothing, keeping items on hangers in wardrobe boxes or containers. Pack non-essential clothing, like out-of-season items, first. For valuables, such as jewelry, use a secure case or box. Thread necklaces through straws or toilet paper rolls to prevent tangling, and use buttons to keep earrings organized. Label boxes clearly with contents and room designation. Include bedding, curtains, and rugs, packing them in separate, labeled boxes. Store seasonal clothing in sealed bins. Protect comforters and blankets in large boxes. Wrap shoes individually and place them in pairs in boxes. Don’t forget to pack a “First Night” box with essentials like pajamas and toiletries. Double-check all drawers and closets to ensure nothing is left behind.
Living Room
Begin with furniture: disassemble items like tables or shelves, and wrap chairs or loose cushions in protective covers. Pack electronics, such as DVDs, gaming consoles, and cables, in labeled boxes. For fragile items, like lamps or vases, use bubble wrap and sturdy boxes. Roll up rugs and secure with tape, and pack curtains or drapes in sealed bags. Label boxes with “Living Room” and contents. Organize remotes, cords, and accessories in small, labeled containers. Pack decorative items, such as framed photos or artwork, with care, using appropriate padding. Ensure all items are cleaned before packing. Double-check for any overlooked items, like books or magazines, and pack them in separate boxes. Confirm all electronics are disconnected and ready for transit.
Bathroom
Start by sorting toiletries, towels, and linens. Pack essential items, such as toothbrushes, toothpaste, and medications, in a clearly labeled “Bathroom Essentials” box. Use small containers for loose items like cotton balls or q-tips. Roll towels and washcloths to save space and prevent wrinkles. Wrap fragile items, such as mirrors or decorative accessories, in bubble wrap. Pack shower curtains, bath mats, and robes in sealed bags. Label boxes with “Bathroom” and specify contents. Clean and dry bathroom items before packing to prevent mold or mildew. Keep a separate bag for cleaning supplies, such as toilet cleaners or sponges. Ensure all items are organized and easily accessible for moving day. Double-check for any overlooked items, like hair accessories or bathroom trash cans, and pack them accordingly.
Garage and Storage Areas
Begin by sorting items into categories: tools, sports equipment, and seasonal decorations. Declutter by deciding what to keep, donate, sell, or discard. Use sturdy boxes for heavy or fragile items, labeling them clearly. Drain fuel from equipment like lawn mowers or generators. Protect furniture and large items with covers or padding. Pack small tools and accessories in labeled containers. Secure long-handled tools, such as shovels or rakes, in bundles. Disassemble any shelving or removable parts for easier transport. Pack heavy items at the bottom of boxes and label them as “Heavy.” Use color-coding to indicate which boxes belong in storage or specific areas. Double-check for overlooked items, such as ropes or cords, and ensure everything is securely packed for moving day.
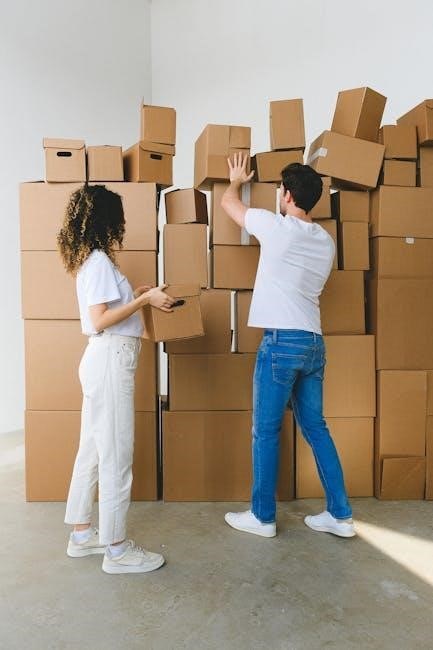
Packing Tips and Supplies
Sturdy boxes, packing tape, bubble wrap, and a utility knife are essentials. Pack room by room, label boxes clearly, and use color-coding for organization.
Essential Packing Supplies
Sturdy boxes, packing tape, bubble wrap, and a utility knife are must-haves. Labels and markers ensure clear identification, while packing paper or foam protect fragile items. Furniture covers and mattress bags safeguard larger pieces. Plastic bins or bags can store small items like screws or cables. A dolly or hand truck eases moving heavy boxes. Color-coded labels or stickers help differentiate rooms. Consider eco-friendly options like reusable containers or biodegradable packing materials. Gathering these supplies early ensures a smooth packing process and prevents last-minute stress. Organizing them room by room simplifies the task and makes unpacking easier. Having the right tools minimizes damage and maximizes efficiency during your move.
Best Practices for Packing
Start by packing non-essential items early to avoid last-minute chaos. Use sturdy boxes, bubble wrap, and packing paper to protect fragile items. Label boxes clearly with contents and the room they belong to for easy unpacking. Consider color-coding boxes by room for better organization. Fill boxes completely to prevent shifting during transit, but avoid overpacking to keep them manageable. Pack heavy items at the bottom and lighter ones on top for stability. Keep valuable or essential items separate for easy access. Defrost and clean appliances before moving to ensure they’re ready for transport. By following these practices, you’ll ensure a safer, more efficient move with less risk of damage or confusion.
Labeling and Organizing Boxes
Clearly label boxes with their contents and the room they belong to. Use color-coding for different rooms to enhance organization. Ensure labels are easy to read and visible, preventing confusion during the move.
How to Label Boxes Effectively
Effective labeling ensures boxes are easily identified and placed correctly. Start by writing the room name and box contents on the top and sides. Use bold markers for clarity. Add a numbering system and maintain an inventory list. Include “Fragile” stickers for delicate items and “Open First” for essentials. Color-coding by room helps movers categorize boxes quickly. This organized approach minimizes confusion and ensures everything ends up in the right place. Clear labels also help prevent damage and save time during unpacking, making the moving process smoother and less stressful overall.
Color-Coding for Different Rooms
Color-coding is a simple yet effective way to organize boxes by room. Assign a unique color to each room using stickers or labels. For example, use red for the kitchen, blue for the bedroom, and green for the living room. This system helps movers quickly identify where each box belongs, reducing confusion and saving time. It also ensures that items are placed correctly without constant supervision. Additionally, color-coding can help family members or helpers understand the layout of the new space. By implementing this method, you can streamline the unpacking process and make the transition to your new home more efficient and stress-free.
Final Checks Before Moving Day
Final checks ensure everything is in order before moving. Defrost and clean appliances, verify all rooms are clear, and confirm everything is packed and ready.
Defrosting and Cleaning Appliances
Defrosting and cleaning appliances is a crucial step before moving. Start by defrosting your refrigerator and freezer the night before the move to prevent ice buildup. Clean all appliances thoroughly, including ovens, microwaves, and dishwashers, to remove food residue. Wipe down surfaces with a mild detergent and ensure all appliances are dry to prevent mold and mildew. For washing machines, run a cleaning cycle and leave the door open to dry. Properly cleaning and preparing appliances ensures they remain in good condition and avoids unpleasant odors during transit. This step also helps in maintaining their functionality for your new home.
Double-Checking All Rooms
Double-checking all rooms is essential before moving day to ensure nothing is left behind. Start by inspecting each room thoroughly, opening cabinets, drawers, and closets to confirm they are empty. Check for overlooked items like cleaning supplies, trash, or forgotten belongings. Verify that all light fixtures, switches, and outlets are in working order. Look for any damage or marks on walls, floors, or ceilings that may need documentation. Ensure all windows and doors are closed securely and that keys are accounted for. Finally, take a moment to mentally walk through each space to confirm everything is packed and ready for the move. This step helps prevent last-minute chaos and ensures a smooth transition to your new home.
Printable Moving Checklist PDF
A comprehensive, customizable guide covering tasks from 8 weeks prior to moving day, ensuring a smooth transition with step-by-step organization and room-by-room preparation.
Customizing Your Checklist
Customizing your moving checklist ensures it meets your specific needs. Start by breaking it down into sections for each room, listing items to pack and tasks to complete. For the kitchen, include dishes and appliances; for the bedroom, list clothes and furniture. Add checkboxes for tracking progress. Use color-coding for different rooms to enhance organization. Include spaces for notes to capture reminders or special instructions. Opt for an editable template to add or remove sections as needed. Incorporate a timeline for tasks like defrosting the fridge or cleaning the oven. The goal is to create a detailed yet flexible guide that ensures nothing is overlooked during your move. This personalized approach will make the process more manageable and less stressful.
Using the Checklist on Moving Day
On moving day, your checklist becomes an essential tool for ensuring everything goes smoothly. Begin by verifying that all items are packed and accounted for, using the checklist to track progress; Go room by room, checking off each item as it’s loaded onto the truck. This helps prevent anything from being left behind. Assign a section of the checklist to a trusted helper to coordinate efforts. Use the checklist to confirm that all boxes are labeled correctly and match the inventory. If something is missing or unclear, address it immediately. This systematic approach minimizes last-minute chaos and ensures a seamless transition to your new home.
Leave a Reply
You must be logged in to post a comment.